
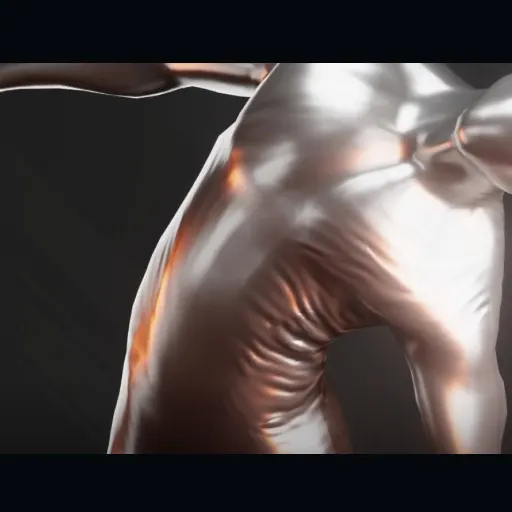
“Wrinkle Tension Shader” is a combination of a Geometry Node setup and a Shader group. When these tools are combined, the result is a lightweight Tension Map calculation in Blender. The setup is kindly provided for free by Cartesian Caramel, a well known and respected Geometry Nodes expert from the Blender community.
QuickStart Guide
When you get the Gumroad product, you’ll be able to download a blend file with a fully setup tension map and wrinkle demo.
Here is a workflow you can follow to apply it to your own object.
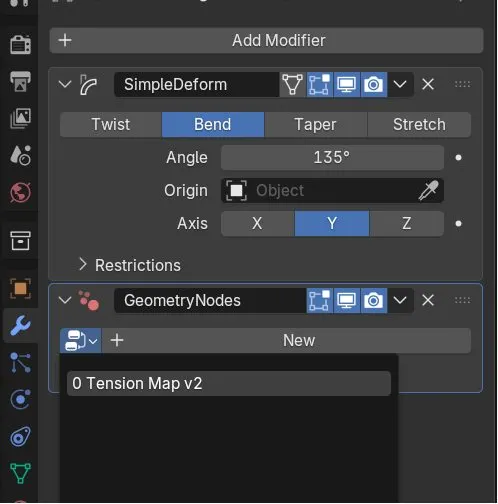
Get your deformable object ready in a new scene. As a test, you could use a cylinder deformed by an Armature (or just a Simple Deform modifier sent to “Bend”).
It is recommended that your mesh has well laid-out UVs if you want to make use of the procedural wrinkles in the custom Shader node provided by this tool.
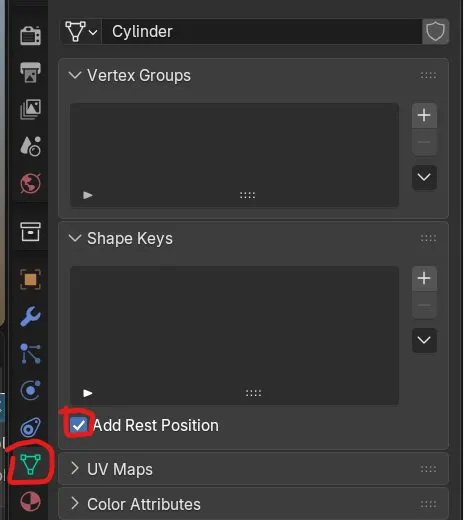
And another important prerequisite: you have to enable “Add Rest Position” under Properties > Data > Shape Keys. You don’t need to create any shapekeys, just tick that option.
Next, append the node trees from the file you downloaded on Gumroad. Go to File > Append, navigate to the file and double-click it to enter its data. Enter the NodeTree folder and select both entries (Tension Map and Wrinkle Map), then click Append.
Now you can give your deforming object a new Geometry Nodes modifier. From the drop-down menu of the GN modifier, select the Tension Map setup.
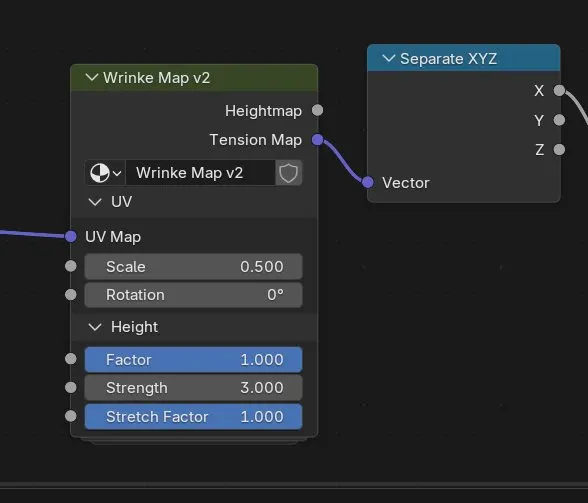
Now in the shader of your deforming mesh, press shift + A > Group > Wrinkle Map.
The Wrinkle Map group has two outputs.
- Hightmap outputs a procedural black and white wrinkle map. It requires UVs. You can use it any way you see fit but generally, you’ll plug it into a Bump or Displacement node to visualize the wrinkles. The node parameters Scale, Rotation, etc. control the appearance of the wrinkles.
- Tension Map holds the actual compression/stretch map that controls the effect. You can use that to set up your custom wrinkles or effects. To isolate the Compression and Stretching, plug the Tension Map output into a Separate XYZ node (or Separate Color, it doesn’t seem to make a big difference). The X value represents the Stretching of your mesh, and Z value is Compression.
Weaknesses & Limitations
As the name suggest, Wrinkle Tension Shader is primarily a Shader effect and does not create any Vertex Groups.
I also noticed that the effect of the procedural Wrinkle Map breaks at the UV seams so lay out your UVs carefully.
More tools in Tension Maps
-
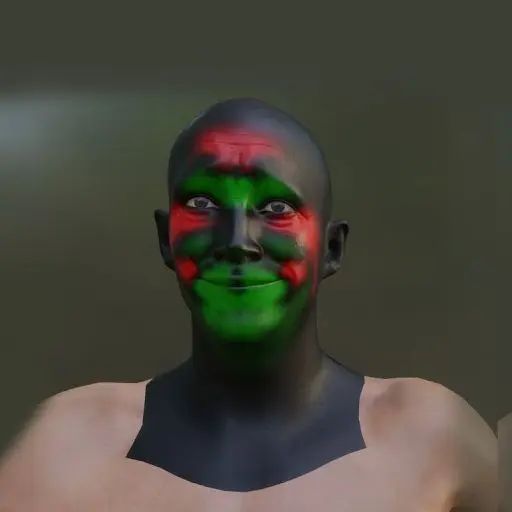 Tension Map by CGVirus
github.com
free
-
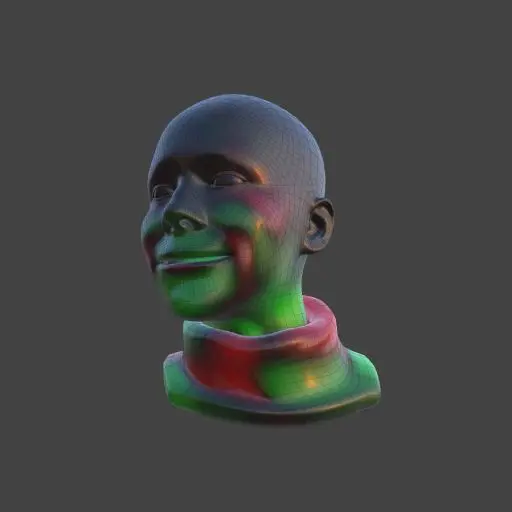 Tension Weights by OtherRealms
otrealms.gumroad.com
free
-
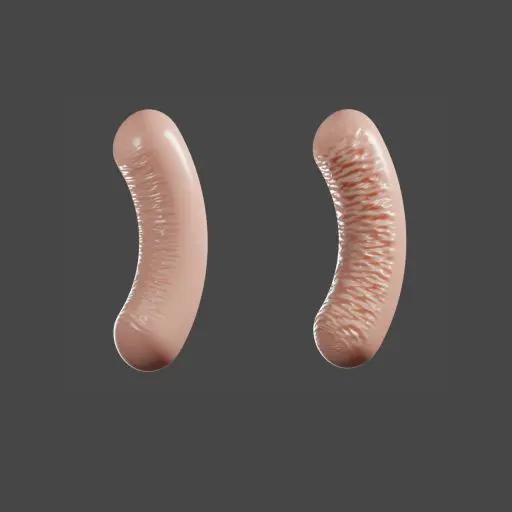 Blender Mesh Tension Add-On
github.com
free
-
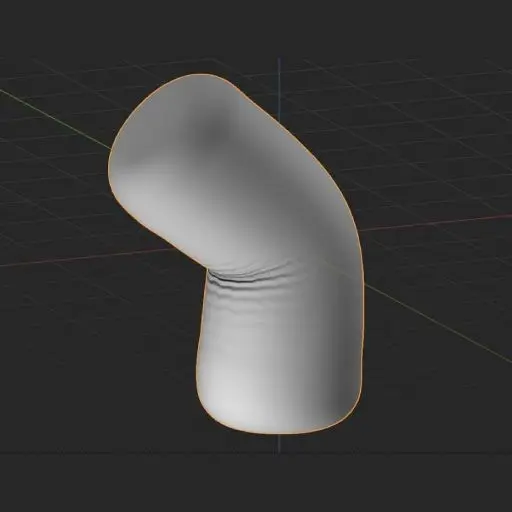 Tension Map by “ScottishCyclops”
github.com
free
-
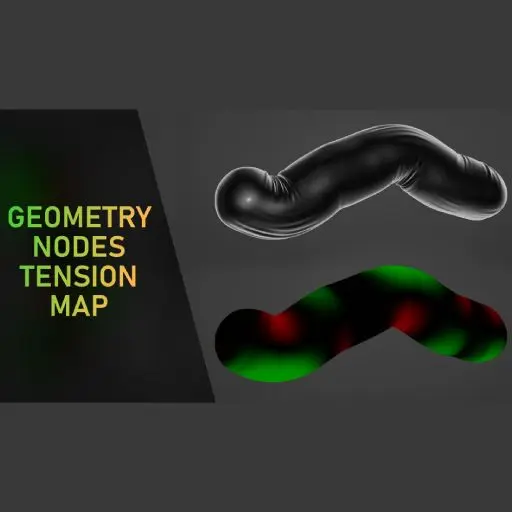 Blender Geometry Nodes Mesh Tension Map Example by Higgsas
higgsas.gumroad.com
free
-
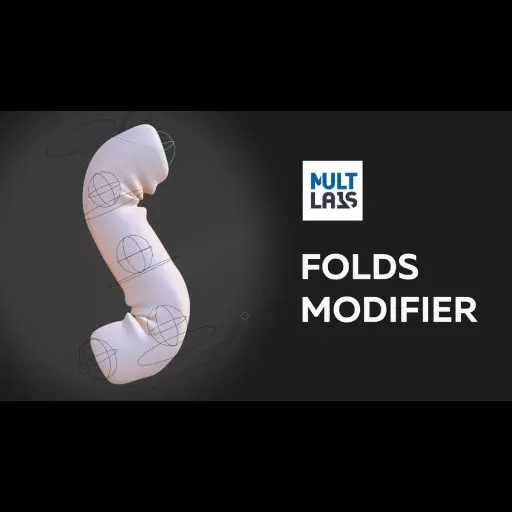 Folds Modifier - Tension Map For Blender
superhivemarket.com
paid
No items match these filters.